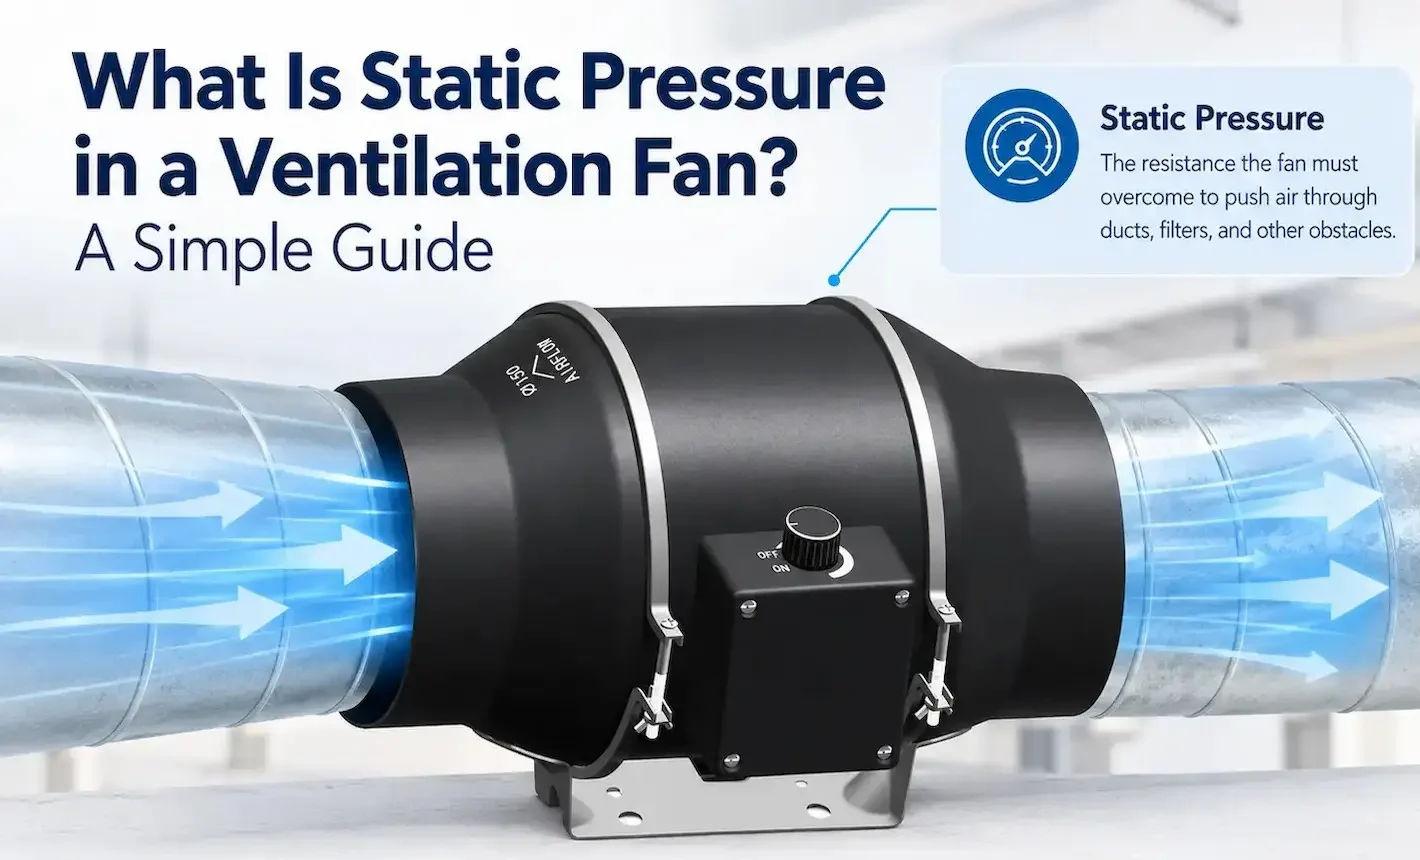
Mounting an inline duct fan in a plenum less than 300 mm deep removes most of the slack a service technician relies on. Done correctly, the fan disappears into the ceiling and runs for a decade without complaint. Done badly, you get airborne vibration into the soffit, premature bearing wear, and a maintenance access nightmare.
Step 1 — Survey before you order
Confirm three dimensions in the field: plenum depth, joist spacing and the diagonal clearance to the nearest beam. The fan body plus its inlet/outlet flexible connectors typically need 80–120 mm of overhead clearance for service access. If you have less, plan for a side-removal access panel directly under the fan.
Step 2 — Hang from the structure, not the duct
Use threaded rod (M8 minimum) anchored into the structural slab or joist, fitted with neoprene-cup vibration isolators rated to at least 125% of the fan's wet weight. Never let the duct support the fan — it will deform the casing and crack the impeller hub within months.
Rule of thumb: four isolated hangers, one at each corner of the fan body, each isolator selected for 90% deflection efficiency at the fan's running RPM.
Step 3 — Add flexible duct connectors at both ends
A 75–100 mm flexible canvas connector on each side breaks the structure-borne vibration path between fan and rigid ductwork. Tighten the worm-drive clamps just enough to seal — overtightening squashes the fabric and re-couples the vibration.
Step 4 — Wiring with a service loop
Leave 300–400 mm of cable slack coiled above the fan, terminated in a quick-disconnect plug or a wall-mounted disconnect within sight of the unit. This lets a technician drop the fan without re-pulling power.
Step 5 — Plan the access panel
Centre a 600 × 600 mm gypsum access panel directly below the fan. In tight plenums, also cut a 300 × 200 mm side panel level with the fan to access the wiring junction without removing the entire fan body.
Common defect: installers omit the side access panel. The fan then has to be fully removed for any control or wiring change — a 15-minute job becomes a 90-minute job, and ceiling drywall gets damaged each time.